
How To Install Stone Veneer Correctly Using Wire Mesh
Stone veneer is a popular choice for both interior and exterior home improvement projects. It is a versatile material that can be used to create a variety of looks, from rustic to modern. Stone veneer is also relatively affordable and easy to install, making it a great option for DIYers.
Here are the steps on how to install stone veneer:
Prepare the surface. The surface that you will be installing the stone veneer on must be clean, dry, and free of any debris. If the surface is not smooth, you may need to apply a layer of drywall compound or joint compound to level it out.
Garden bed Insulation Paper >> Buy Here
Apply the scratch coat. The scratch coat is a layer of mortar that is applied to the wall to provide a base for the stone veneer. To apply the scratch coat, use a trowel to spread a 1/2-inch-thick layer of mortar on the wall. Be sure to scratch the surface of the mortar with a wire brush to create a rough texture.
Stainless Steel Square Notched Trowel Set 3 >> Buy Here
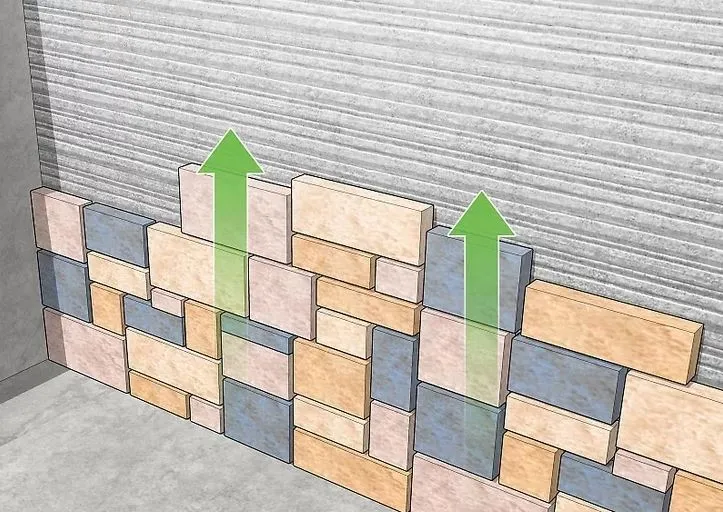
Apply the stone veneer. Once the scratch coat has dried, you can begin applying the stone veneer. To do this, use a trowel to apply a thin layer of mortar to the back of each stone. Press the stone into the mortar and use a level to make sure that it is level.
Versabond Thin Set Mortar > Buy here
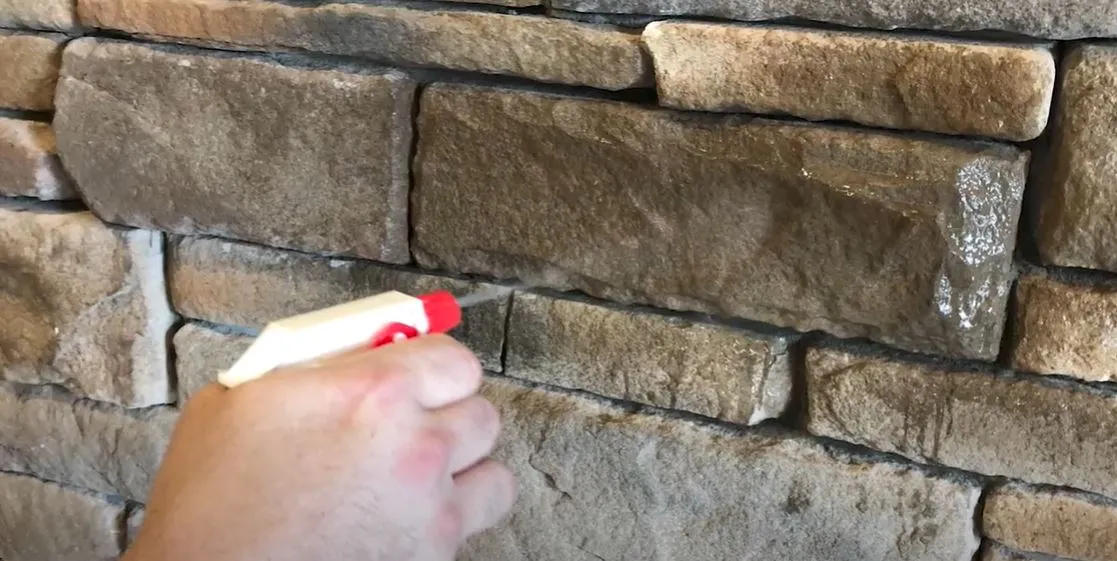
Fill the joints. Once all of the stones have been applied, you can fill the joints with grout. To do this, use a grout float to spread the grout into the joints. Be sure to wipe away any excess grout.
Chicken Wire Mesh >> Buy here
Seal the stone veneer. Once the grout has dried, you can seal the stone veneer to protect it from the elements. To do this, apply a coat of sealer to the stone veneer using a paintbrush or roller.
With these simple steps, you can easily install stone veneer on your own.
Popular Posts